Now that we can successfully add products, let’s show them in the products listing page, which is managed in the ProductsList component in src/views/ProductsList.vue:
<template>
  <div class="">
    <h1>Products List</h1>
  </div>
</template>
Before we do anything else we must go to the Vuex store object and add a way to get the products list.
Products, as you recall, are stored through the addProduct mutation, which adds a product to the products array:
src/store.js
import Vue from 'vue'
import Vuex from 'vuex'

Vue.use(Vuex)

export default new Vuex.Store({
  state: {
    products: []
  },
  mutations: {
    addProduct(state, product) {
      state.products.push(product)
    }
  },
  actions: {}
})
We must add a getters object, which holds a products property:
export default new Vuex.Store({
  state: {
    products: []
  },
  mutations: {
    addProduct(state, product) {
      state.products.push(product)
    }
  },
  actions: {},
  getters: {
    products: state => state.products
  }
})
Now we can extract the products list by calling this.$store.getters.products in a component JavaScript, or use $store.getters.products in a component template.
So let’s go back to src/views/ProductsList.vue and we can iterate over those products:
<template>
  <div class="products-list">
    <div v-for="(product, index) in $store.getters.products" :key="index">
      <!-- ... -->
    </div>
  </div>
</template>
and for each product we display the information we have at our disposal:
<template>
  <div class="products-list">
    <div v-for="(product, index) in $store.getters.products" :key="index">
      <img :src="product.imageUrl" />
      <h2>{{product.name}}</h2>
      <p class="description">{{product.description}}</p>
      <p class="price">${{product.price}}</p>
    </div>
  </div>
</template>
We have a way to add products in the AddProduct component. Here we can add a way to remove a product, which we can use in our testing to avoid having lots of sample data and no way to remove a product.
Let’s first add a button, that once clicked calls the deleteProduct() method on the component, and passes it the product index:
<button @click="deleteProduct(index)">ⓧ</button>
Let’s show it in context:
<template>
  <div class="products-list">
    <div v-for="(product, index) in $store.getters.products" :key="index">
      <img :src="product.imageUrl" />
      <h2>{{product.name}}</h2>
      <p class="description">{{product.description}}</p>
      <p class="price">${{product.price}}</p>
      <button @click="deleteProduct(index)">ⓧ</button>
    </div>
  </div>
</template>
Here’s the deleteProduct method implementation:
<script>
export default {
  name: 'Products',
  methods: {
    deleteProduct(index) {
      this.$store.commit('deleteProduct', index)
    }
  }
}
</script>
we perform the deleteProduct mutation on the store, passing the product index.
Let’s add this mutation to src/store.js, right after the addProduct mutation:
mutations: {
  addProduct(state, product) {
    state.products.push(product)
  }
}
⬇️
mutations: {
  addProduct(state, product) {
    state.products.push(product)
  },
  deleteProduct(state, i) {
    state.products = state.products
      .slice(0, i)
      .concat(state.products.slice(i + 1, state.products.length))
  }
}
Now we can add and remove products as we want.
Let’s make the list render a bit nicer with this style:
<style scoped>
.products-list {
  display: flex;
  padding-top: 30px;
}
.products-list div {
  width: 33%;

  box-sizing: border-box;
  padding: 30px;
  background-color: lightsalmon;
}

button {
  padding: 30px;
  font-size: 2rem;
}

.description,
.price {
  padding-top: 20px;
}
</style>
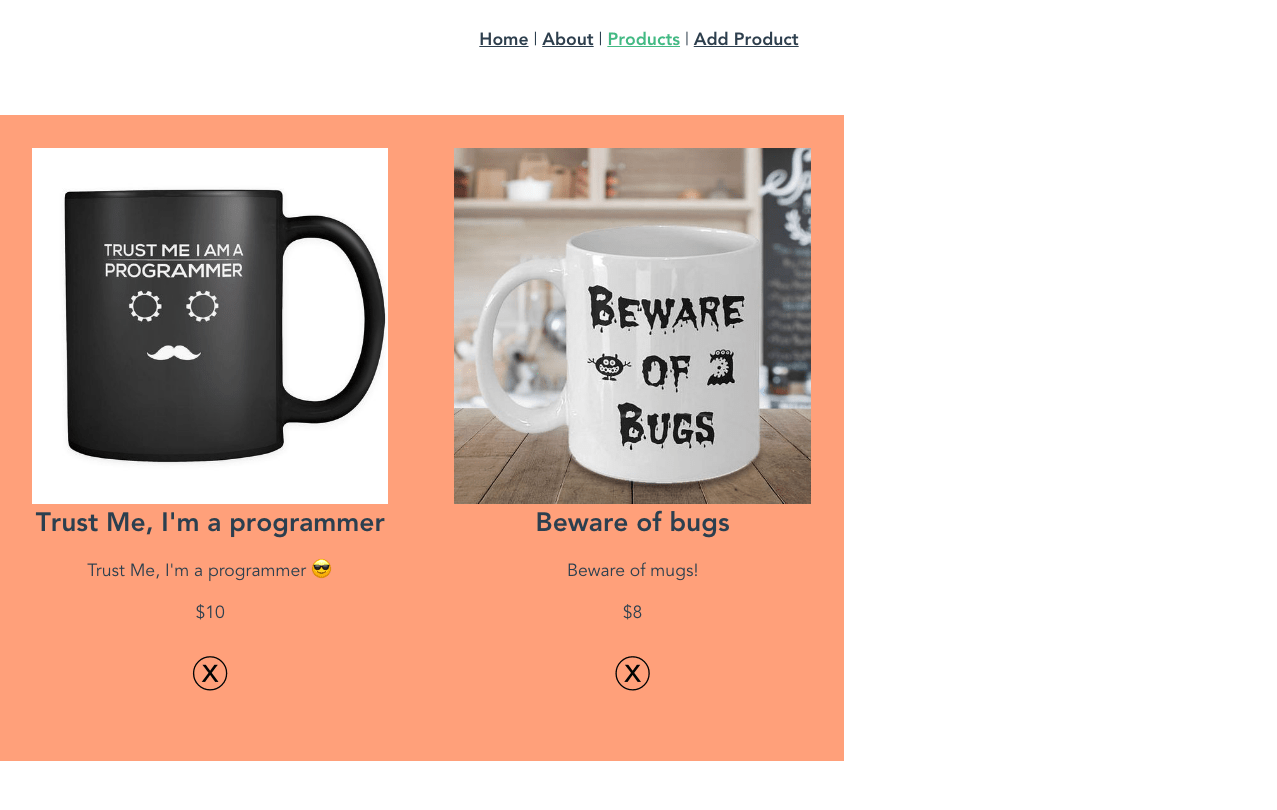
Here’s our result:
You can find the working code at https://codesandbox.io/s/v5652yv1l