Now that you know the basic building blocks of Vue, and how to start up an application using the Vue CLI, it’s time to start building one!
In this module we’re going to create a new Vue app from scratch, and build a simple Pixel Art app.
You’ve probably seen a similar application already. I have a few of them on my iPad. It’s a cool way to relax, by drawing something cool.
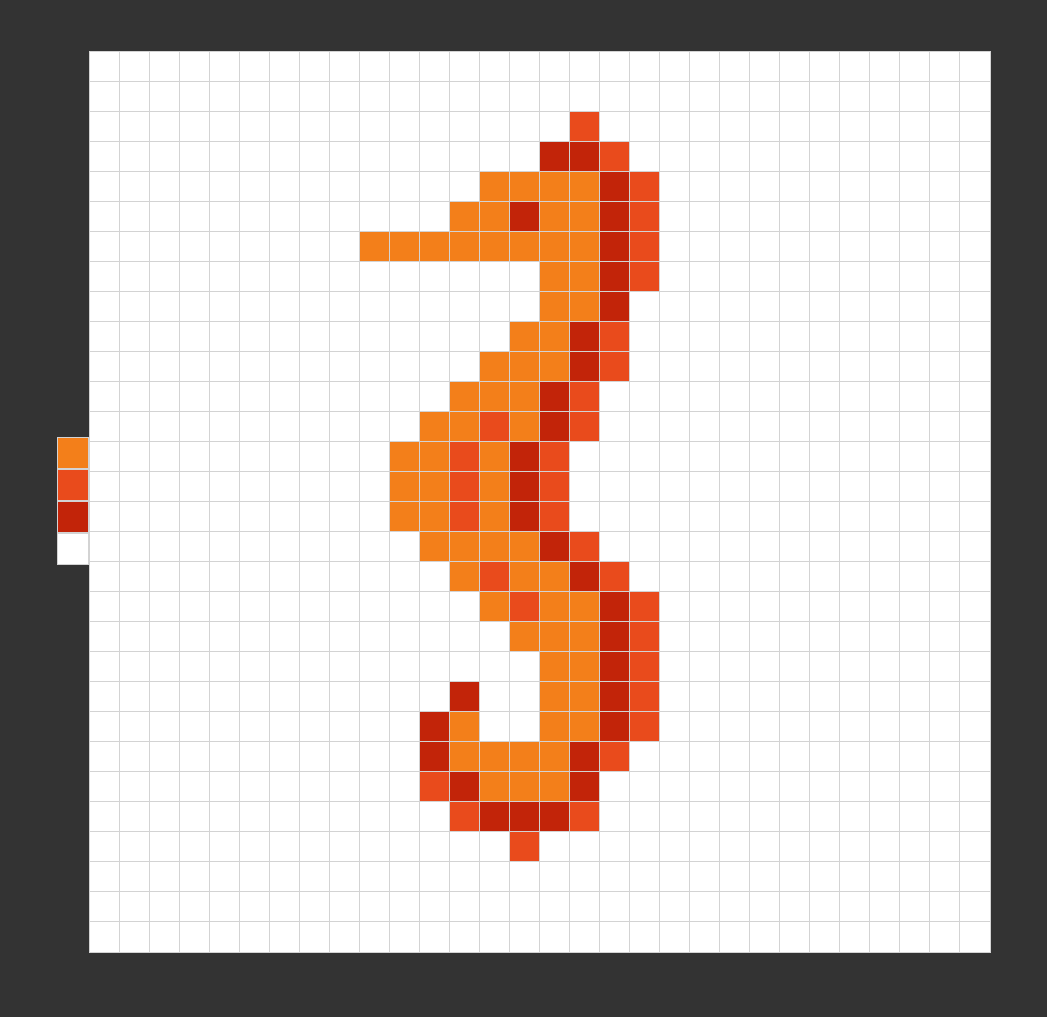
This is what we aim for:
The app will run in the browser and will use Vue as its foundation.
What we’ll build in detail
The goal of this tutorial is to build a canvas, a 30x30 “pixels” matrix. When the app starts, there is a blank canvas showing up.
There is also a color picker, which shows the colors you can use. A default color is pre-selected when the app starts.
When you click one pixel in the canvas, that pixel will be colored with that default color.
The main components of the app
Given the UI that is showed above, we basically need 3 components.
- One is the Pixel, a single unit that will compose our drawing.
- One is the Canvas, which is a set of 30 rows, each containing 30 Pixel components.
- The last one is the ColorPicker, which contains one or more Pixels components.
Clicking a Pixel component inside a ColorPicker will change the active color.
Clicking a Pixel component inside a Canvas will change the background color of the pixel.
Bootstrap a Vue app using the Vue CLI
We can now start creating our app.
I’m going to use CodeSandbox in my tutorial because it’s built upon Vue CLI. You can choose to develop locally, or use CodeSandbox.
The choice is yours.
Here is the link to create a new CodeSandbox project: https://codesandbox.io/s/vue. You just visit the page and start building things right away.
Wrapping up
You now know what we’re going to build. It’s key to have the final goal in mind when working on something.
In the next lesson we’ll create the first Vue component.