In the last few lessons we created a Canvas, composed by 900 pixels, and we made the pixels colorable using a color prop.
Now we’ll work on a ColorPicker component, which will allow us to choose between 4 different colors, and as such will be composed by 4 pixels.
Let’s create a new file in src/components named ColorPicker.vue.
This will host our ColorPicker component.
The ColorPicker component as said in the introduction will simply host 4 instances of the Pixel component.
Everyone will have a different color. In the next lesson we’ll make it do something useful, but for now, we just need to display it correctly and add it to our app in the correct position.
So we start from zero:
<template>
  <div>
  </div>
</template>
and we add 4 Pixel components:
<template>
  <div>
    <Pixel />
    <Pixel />
    <Pixel />
    <Pixel />
  </div>
</template>
Since we use the Pixel component we also need to import it:
<script>
import Pixel from './Pixel'

export default {
  name: 'ColorPicker',
  components: {
    Pixel
  }
}
</script>
and based on the things we did in the previous lesson to color a Pixel, we pass a color prop with a different color for each pixel.
The color names are based on the CSS classes we added inside Pixel, to color it:
<template>
  <div>
    <Pixel color="white" />
    <Pixel color="lightblue" />
    <Pixel color="blue" />
    <Pixel color="darkblue" />
  </div>
</template>
Note: we use
color="white"because this is a static value (a string). If we wanted to pass some dynamic property stored in the component data, we’d have to use:color=....
Now we can import the ColorPicker component in the App component and render it in the template:
<template>
  <div id="app">
    <ColorPicker />
    <Canvas />
  </div>
</template>

<script>
import Canvas from './components/Canvas'
import ColorPicker from './components/ColorPicker'

export default {
  name: 'App',
  components: {
    Canvas,
    ColorPicker
  }
}
</script>
Here it is in the browser preview:
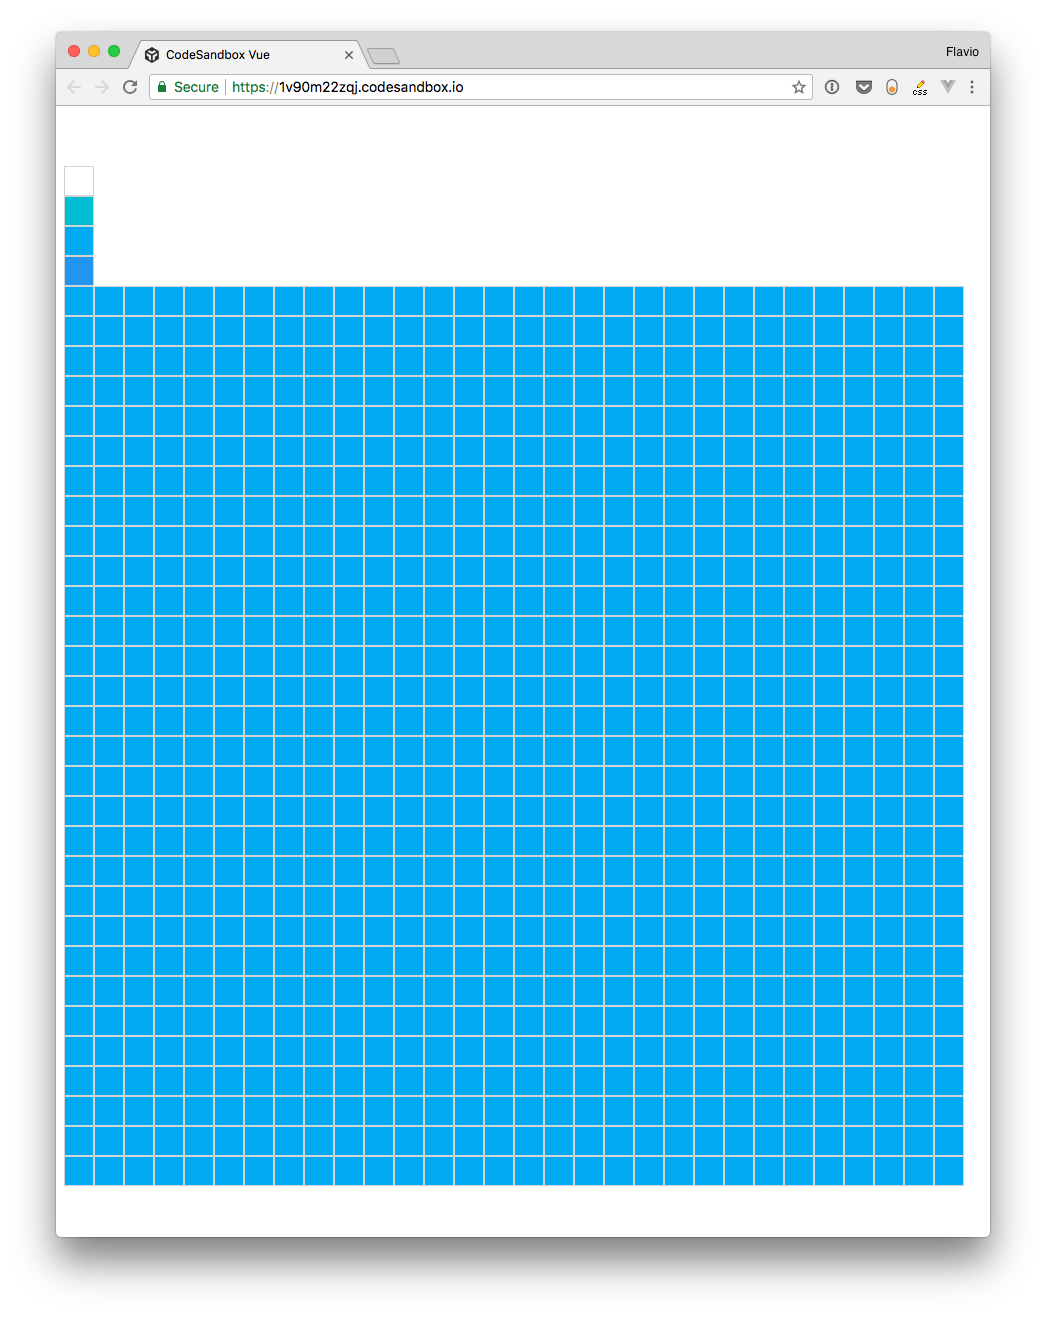
You can see the fully working code up to now in https://codesandbox.io/s/1v90m22zqj.
Wrapping up
We wrapped 4 Pixel components in a ColorPicker component, assigning to each one of them a different color.
In the next lesson, we’ll change a property in the App component state when one of those pixels is clicked, to set the currently selected color.