In the previous lesson we created the first component of the application.
Now we’ll take that component and use it as a base for a grid of pixels, which will be the canvas of our application. Canvas, therefore, seems a good name for it.
We will put it in src/components/Canvas.vue. Let’s start with this:
<template>
  <p>Canvas</p>
</template>
Now, how do we use a component inside another component? We need to import it, in the script tag:
<script>
import Pixel from './Pixel'

export default {
  name: 'Canvas',
  components: {
    Pixel
  }
}
</script>
Let’s now change the App.vue file to use Canvas instead of Pixel:
<template>
  <div id="app">
    <Canvas />
  </div>
</template>

<script>
import Canvas from './components/Canvas'

export default {
  name: 'App',
  components: {
    Canvas
  }
}
</script>

<style>
...
</style>
So now we should already see something in the application output:
Now if we want to show a single Pixel inside the Canvas, we can just do this:
<template>
  <Pixel/>
</template>

<script>
import Pixel from './Pixel'

export default {
  name: 'Canvas',
  components: {
    Pixel
  }
}
</script>
But we want to create a grid.
I want a 30x30 grid of Pixels. How can we do so?
We use v-for, a Vue template directive. We want a 30x30 grid, but that’s for visualization purposes. We can simply display 900 pixels, and then we arrange them using CSS. Here’s the Vue template code:
<template>
  <div class="canvas">
    <Pixel v-for="n in 30*30" :key="n"/>
  </div>
</template>
Notice how we don’t need to write 900, but we can use 30*30 and Vue understands it.
<template>
  <div class="canvas">
    <Pixel v-for="n in 30*30" :key="n"/>
  </div>
</template>

<script>
import Pixel from './Pixel'

export default {
  name: 'Canvas',
  components: {
    Pixel
  }
}
</script>
<style scoped>
.canvas {
  display: flex;
  flex-wrap: wrap;
  max-width: 900px;
}
</style>
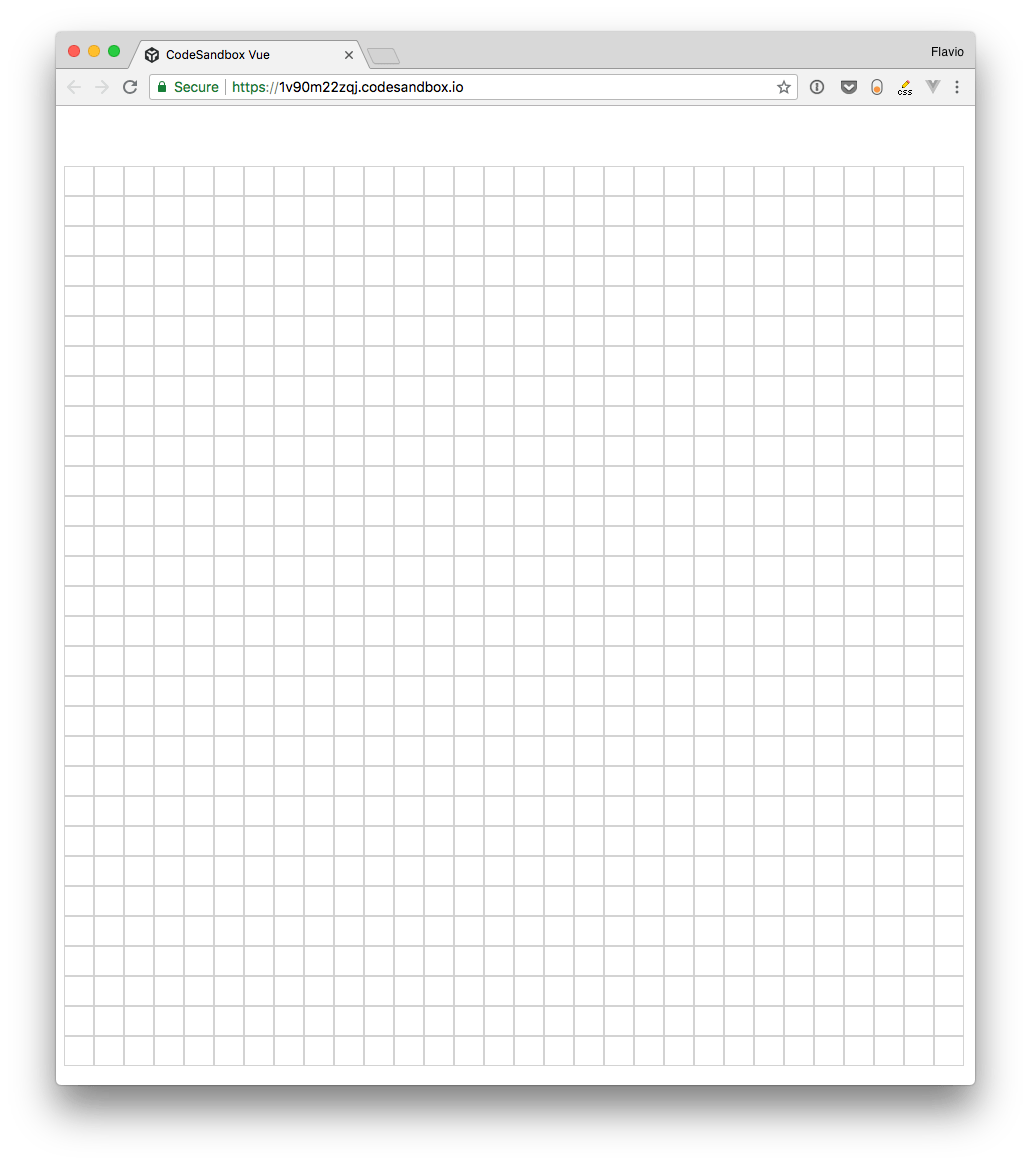
Here is our result so far:
Wrapping up
So we went from displaying a single Pixel to composing multiple Pixel components into a bigger Canvas component. So far, so good!
In the next lesson we’ll add a property to the Pixel component to make it have a color!